
Hatching vs. Cross-Hatching for Stone Walls and Alley Shadows
Hatching vs. Cross-Hatching for Stone Walls and Alley Shadows
The alley is barely wide enough for a scooter. Sunlight catches the top two metres of the left-hand wall and stops, as if someone drew a line across the stone with a ruler. Everything below is grey: the doorway, the drainpipe, the step where a cat has decided to sit. You have forty minutes and one pen, and the real question is not whether to shade but how — one direction of parallel lines, or a lattice of them.
Hatching and cross-hatching are not the beginner and advanced versions of the same move. They do different jobs. One describes a surface; the other measures how little light reaches it. Get that wrong and stone walls turn into knitted fabric while the deep shadows go flat and chalky.
Two marks, two jobs
Hatching: the surface mark
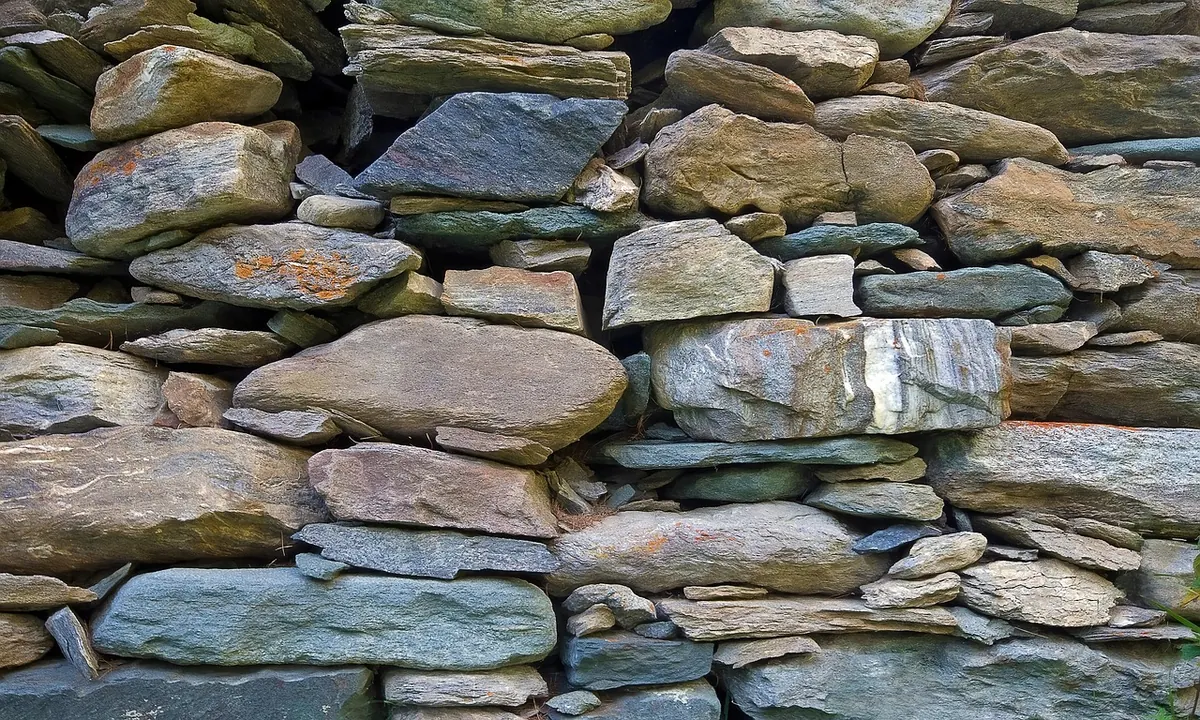
Parallel lines, one angle, no crossing. Value comes from spacing, line weight, and how many passes you make. It stays light, it lets the paper breathe, and — this matters on a wall — it has direction. A run of parallel lines can follow a mortar course, tilt with a weathered face, or streak downward where rainwater has stained the plaster. The eye reads that direction as texture.
In an alley, that direction is half the information. The stone might be laid in courses, so the first hatching pass can run with the mortar lines, not against them. A limestone block with a chipped face wants lines that turn slightly at the chip; a plastered wall wants longer, softer lines that follow the trowel; a damp patch at the base wants short, vertical pulls that stop where the damp stops. Hatching can be adjusted with three simple controls: spacing, pressure, and speed. Tight spacing gives a darker midtone without heavy pressure. A slow line bites into the paper; a fast line skates over it. If the first pass looks too even, add a second hatching pass at the same angle, slightly offset, rather than crossing it. That keeps the surface reading as stone instead of mesh.
The sunlit top of the wall is the obvious place for hatching, but it should still be restrained. You are describing the stone, not filling the shape. Leave patches of paper showing where the light catches a raised edge. Let the lines break at cracks and missing mortar. A wall drawn with one clear hatching direction looks solid even before any shadow is added.
Cross-hatching: the weight mark
Lay a second set of lines across the first and the value jumps. A third pass, finer and tighter, takes it darker still.
Cross-hatching changes the question from “What is this made of?” to “How much light is left?” A doorway recess, the inside of a drainpipe, the gap under a step, the space beneath the cat — those places need density, not texture. The first set of lines can still follow the stone; the second set should be at a different angle, usually somewhere between thirty and sixty degrees, not a perfect ninety-degree grid. Perfect right angles make a mechanical screen. A slight skew keeps the lattice lively and lets the first direction remain visible.
Use cross-hatching where the wall stops being a surface and starts being an absence. The mouth of the drainpipe is a good example: hatch the pipe’s outer curve lightly to show the material, then cross-hatch the opening until it reads as a hole. The doorway works the same way. Hatch the stone around the frame, then cross-hatch the recess behind it. If the doorway and the wall receive the same treatment, the alley becomes a flat pattern of grey blocks.
A wall is not a value; it is a surface that receives value. Hatching describes the surface. Cross-hatching describes the absence of light.
Stone first, shadow second
Most alley drawings fail because the two marks get swapped. The stone in sunlight is cross-hatched until it looks like a wool sweater, while the doorway is hatched once and left as a pale grey panel. The result has texture everywhere and depth nowhere. Work in the other order: establish the stone with hatching, then use cross-hatching to carve out the shadows.
Start by mapping four values, not tones. The sunlit top of the wall can stay close to bare paper, with only enough hatching to suggest grit. The stone in half-light gets a single, wider hatching pass. The wall inside the doorway gets cross-hatching. The drainpipe mouth, the gap beneath the step, and the deepest part of the recess get a tighter cross-hatch, maybe with a final fine pass in the opposite direction. Keep this hierarchy visible even in a small sketch. If you cross-hatch the sunlit stone, you spend your darkest mark on a surface that should feel open, and then the doorway has nowhere to go. If you only hatch the doorway, it stays a grey panel.
- Paper: the top edge of the sunlit wall and a few raised stone faces.
- Light hatching: stone in half-light, weathered patches, the wall below the sun line.
- Cross-hatching: the doorway recess, the shaded side of the drainpipe, the cat’s shadow.
- Tight cross-hatching: the drainpipe opening, the gap beneath the step, the deepest corner of the alley.
Squint at the drawing as you work. If the stone wall and the shadow merge into one grey shape, you need more separation. If every block is outlined and every shadow is a black hole, you need less. The alley should feel narrow because the light stops, not because you have filled the page with lines.
A forty-minute sequence
Forty minutes is enough for one clear decision and a few refinements. Do not spend it all on the first stone block.
- Minutes 0–5: Block in the alley’s main shapes with light pencil or a few faint pen marks: the sun line, the doorway, the drainpipe, the step, the cat. Decide where the deepest shadow will be.
- Minutes 5–15: Hatch the stone surfaces. Follow the mortar courses on the wall, let the lines break at cracks, and vary spacing between blocks. Keep the sunlit area mostly open.
- Minutes 15–25: Cross-hatch the shadow masses. Start with the doorway recess, then the drainpipe opening, then the space under the step. Use a second angle that is slightly off the first set of lines.
- Minutes 25–35: Refine the darkest passages with a finer cross-hatch. Add a few hatching marks to the cat and the step so they belong to the same stone-and-dust world. Leave the cat’s outline soft where it meets shadow.
- Minutes 35–40: Stop adding marks and check the balance. Darken one small recess if the alley still feels shallow. Erase or leave alone a patch of overworked stone if it has become knitted fabric.
Common failures in narrow alleys
- Cross-hatching sunlight. It makes the top of the wall feel heavy and steals the contrast from the doorway.
- Hatching a shadow. A recess needs density, not surface direction. One set of lines will leave it looking like a grey board.
- Uniform spacing. Stone is irregular. Change the gaps, break the lines at damage, and let a few marks run longer than their neighbours.
- Too many directions. Two or three angles are enough. A fourth usually turns the shadow into a scribble and the stone into fabric.
- Using black for depth. The deepest shadow can still hold a little paper. Save pure dark for the drainpipe mouth or the hinge side of the doorway, not the whole recess.
When the cat finally moves, the shadow under it will change before you finish. That is fine. The wall is the subject. Hatching tells you what the stone is like; cross-hatching tells you how little light reaches the place where the cat was sitting. Keep those two jobs separate, and the alley will hold together even after the sun has moved on.
Photo: Camera-man / Pixabay